Overview Apple provides a wide range of application distribution options, each of which serves a particular purpose. This guide will dive into the different distribution methods and when to use each, depending on your distribution needs. Whether you’re an Intune administrator, creating apps for the App Store, or focusing

Apple provides a wide range of application distribution options, each of which serves a particular purpose. This guide will dive into the different distribution methods and when to use each, depending on your distribution needs.
Whether you’re an Intune administrator, creating apps for the App Store, or focusing on creating customized private apps for business or enterprise, this post will walk you through all your options for distributing iOS apps.
Everything begins with a problem you want to solve. Once you figure it out and know what to build, you create an app, and it makes it into the hands of your end users, most often through the App Store.
.png?resize=512%2C118&ssl=1)
It appears simple, and it is for many apps on the store. However, there are several ways to distribute an app. And it all depends on your customer. It all comes down to determining the best way to reach your target audience. Your customers could be members of the general public, businesses, or enterprise users. There are various ways to distribute your app depending on its intended audience.
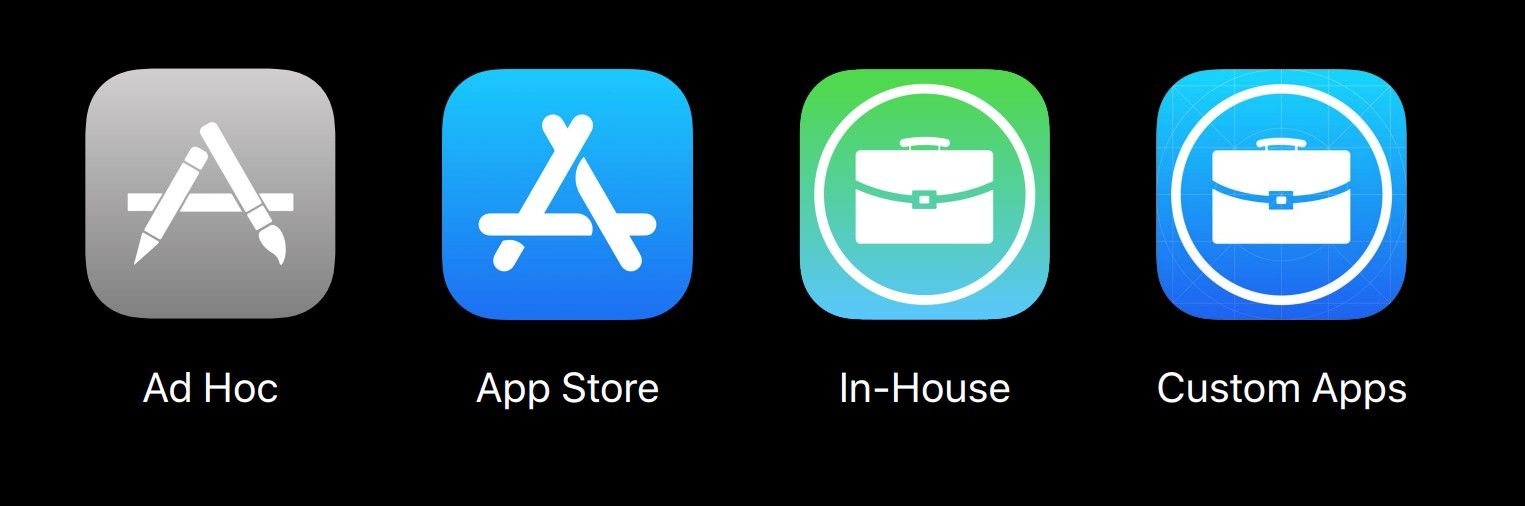
There are four distribution methods that we’re going to discuss in this post:
.png?resize=512%2C146&ssl=1)
I’ll explain all the approaches by using the distribution path of an app that started as a prototype, went through the App Store, was then adapted for a business, and was distributed privately in a few different ways.
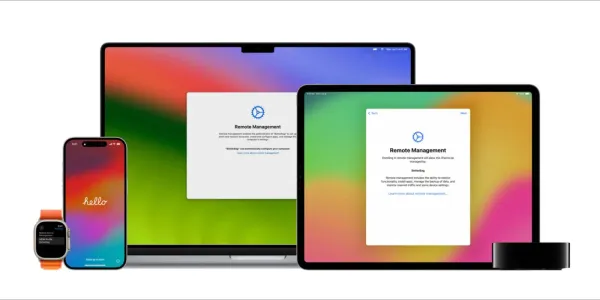
As the first step, you will download Xcode and will log in with your Apple ID to build your prototype. But how would you get this prototype to run on your devices? Sign in to Xcode using your Apple ID and take advantage of the free Personal Team account that comes with it. This isn’t a real distribution method because, with this approach, you can only deploy it to a limited number of devices, and the app will expire after a few days. Here’s what Xcode looks like when logged in with a personal team.
.png?resize=647%2C505&ssl=1)
You create and run your app. Xcode installs it on your device, but for it to launch, you must trust your device’s developer certificate.
.png?resize=550%2C227&ssl=1)
You need to trust the developer certificate by going into settings, general, profiles, and device management.

Features like CloudKit, Siri, or APNS aren’t available, and there’s no way you can publish your “grocery” app to the store with this program so let’s move to the next distribution stage.
Until now, you’ve been mostly just testing the app in the simulator or on your device or your friend’s devices and would also have got the feedback. So the next step is to sign-up for the “Apple Developer Program”. If you don’t already have an account, you need to sign-up for one – either as a company or an individual and once you’re signed up, you’re ready to start distributing the app.
When you leverage ad hoc distribution, a limited number of users can install your app directly from their devices for testing. The process requires that you register their devices from the developer’s website. However, you can register 100 devices per product family per year for development and testing.
To install an app on a device for a user, you need to know their device’s identifier, which you can find either from the Finder sidebar or from Xcode. Once you have the identifier, you can register the device with the Apple Developer website. After registering the device, you can create a build and install it for the user. There are several different ways to do this, depending on the device and the app.

You can connect your device to your Mac or use Apple’s configurator to install the app. You can also host the app and have it installed automatically over the air.
This is a manual way of achieving a limited distribution to a small group. This program is designed to let you deploy to registered devices for testing. It’s not a long-term or scalable distribution solution, and the provisioning profiles used to sign these apps expire yearly, so eventually, the apps will stop working or need to be re-signed.
By now, your user base is growing, and you realize that ad-hoc distribution is not the right fit for you. So you decide to distribute your all-star grocery app to the Apple app store.
The App Store offers beta testing features that are easier to use and allow more users to participate. TestFlight makes it easy for developers and users to test apps, and installation and updates are simple. Beta builds last for three months; for a user, installing an app is a familiar and simple process. TestFlight also offers beta testing for users who are not developers through app review.
.png?resize=420%2C268&ssl=1)
Before submitting an app to the App Store, ensure it meets review guidelines and is stable and ready for a broader audience. However, if you’re only releasing the app to your App Store Connect team members, you don’t need to review it. And TestFlight, which is only available to Apple Developer Program members, will help you test the app before submission.
Once you’re satisfied with the stability of your build, the next step is submitting it to the App Store.
The users for your app can be both the general public and enterprises; anyone can sign up for the Apple Developer Program to distribute to the App Store. Apps are available to the general public based on the markets you choose to support, making them public stores or enterprise apps.
So now your grocery app is on the Apple app store, a highly rated app. Things are progressing very fast, and you need to customize your app as a business app intended to be used privately and internally by an organization. There are two ways to distribute apps internally -> In-House and Custom Apps. Let’s first discuss in-house distribution.
In-house distribution lets you control the entire distribution process and host the app yourself.
It requires membership in the Apple Developer Enterprise Program. Still, there are strict eligibility requirements to get into that program, and it is meant for those cases that can’t be solved by custom app distribution. Distribution is handled completely outside of the App Store by the organizations and is usually through MDM. There are a few important aspects of in-house distribution that you should be aware of:
Distributing business apps as custom app is a new way forward. Custom apps are designed for private distribution to organizations that manage apps on behalf of their employees. These can be apps you develop in-house for distribution to your employees, or they can be apps you develop and make available directly to specific businesses/customers that you designate (e.g. your grocery app).

Custom apps are purchased using Apple Business Manager and deployed through MDM, e.g. Intune. The benefit of using custom apps is that you make a standard version of your apps available on the public App Store and, at the same time, can also design a tailored version of your app for specific customers that will be only available to them.
Custom Apps apps don’t expire, so you don’t need to worry about distribution certificates being revoked or expiring. Additionally, Custom Apps makes it easier to work with third-party developers, as you can get and distribute an app without having access to the source code, and there’s no need to re-sign binaries. Additionally, Custom Apps’ auto-update infrastructure makes sure your app is always up-to-date.
Step 1: Account setup
Step 2: New App ID and App Record (developer.apple.com/account)
Step 3: Upload a valid build

Step 4: Beta test with TestFlight

Step 5: List the app for sale as a Custom App


Step 6: Submit for review

Note, once an app is submitted for review as either a custom app or a public app, you can't go back and change the audience from public to private for vice versa later on.Once the app is approved and available, your customer can purchase and distribute the app through Apple Business Manager.

We’ve covered the four distribution methods that you have to choose from:
The easiest way to decide which is right for you is to think about the audience for your app. A brief summary is shown below:

I hope this article provided you with more in-depth knowledge of iOS app distribution strategies and explained the advantages and disadvantages of each. Depending on your app’s needs, one distribution method may be more optimal. If you enjoyed reading my post, please spread the word about them and follow my page.
Ref: https://developer.apple.com/