In previous blogs, we discussed how to register for DUNS and onboarding in ABM; continuing with that, the next part is purchasing, distributing & managing the VPP apps. Why should we use ABM for App Management & Distribution? By using Apple Business Manager (ABM), an organization can easily purchase and

In previous blogs, we discussed how to register for DUNS and onboarding in ABM; continuing with that, the next part is purchasing, distributing & managing the VPP apps.
By using Apple Business Manager (ABM), an organization can easily purchase and manage apps & books from Apple App Store. It can leverage any MDM solution to distribute the apps & books to their end users or devices even when the app store is disabled on the device!
But before that, let’s understand the different roles in ABM.
Users and Roles in ABM:
There are different ways of creating or importing users in Apple Business Manager; e.g.
For each user account, there is a user state also depending upon its status.
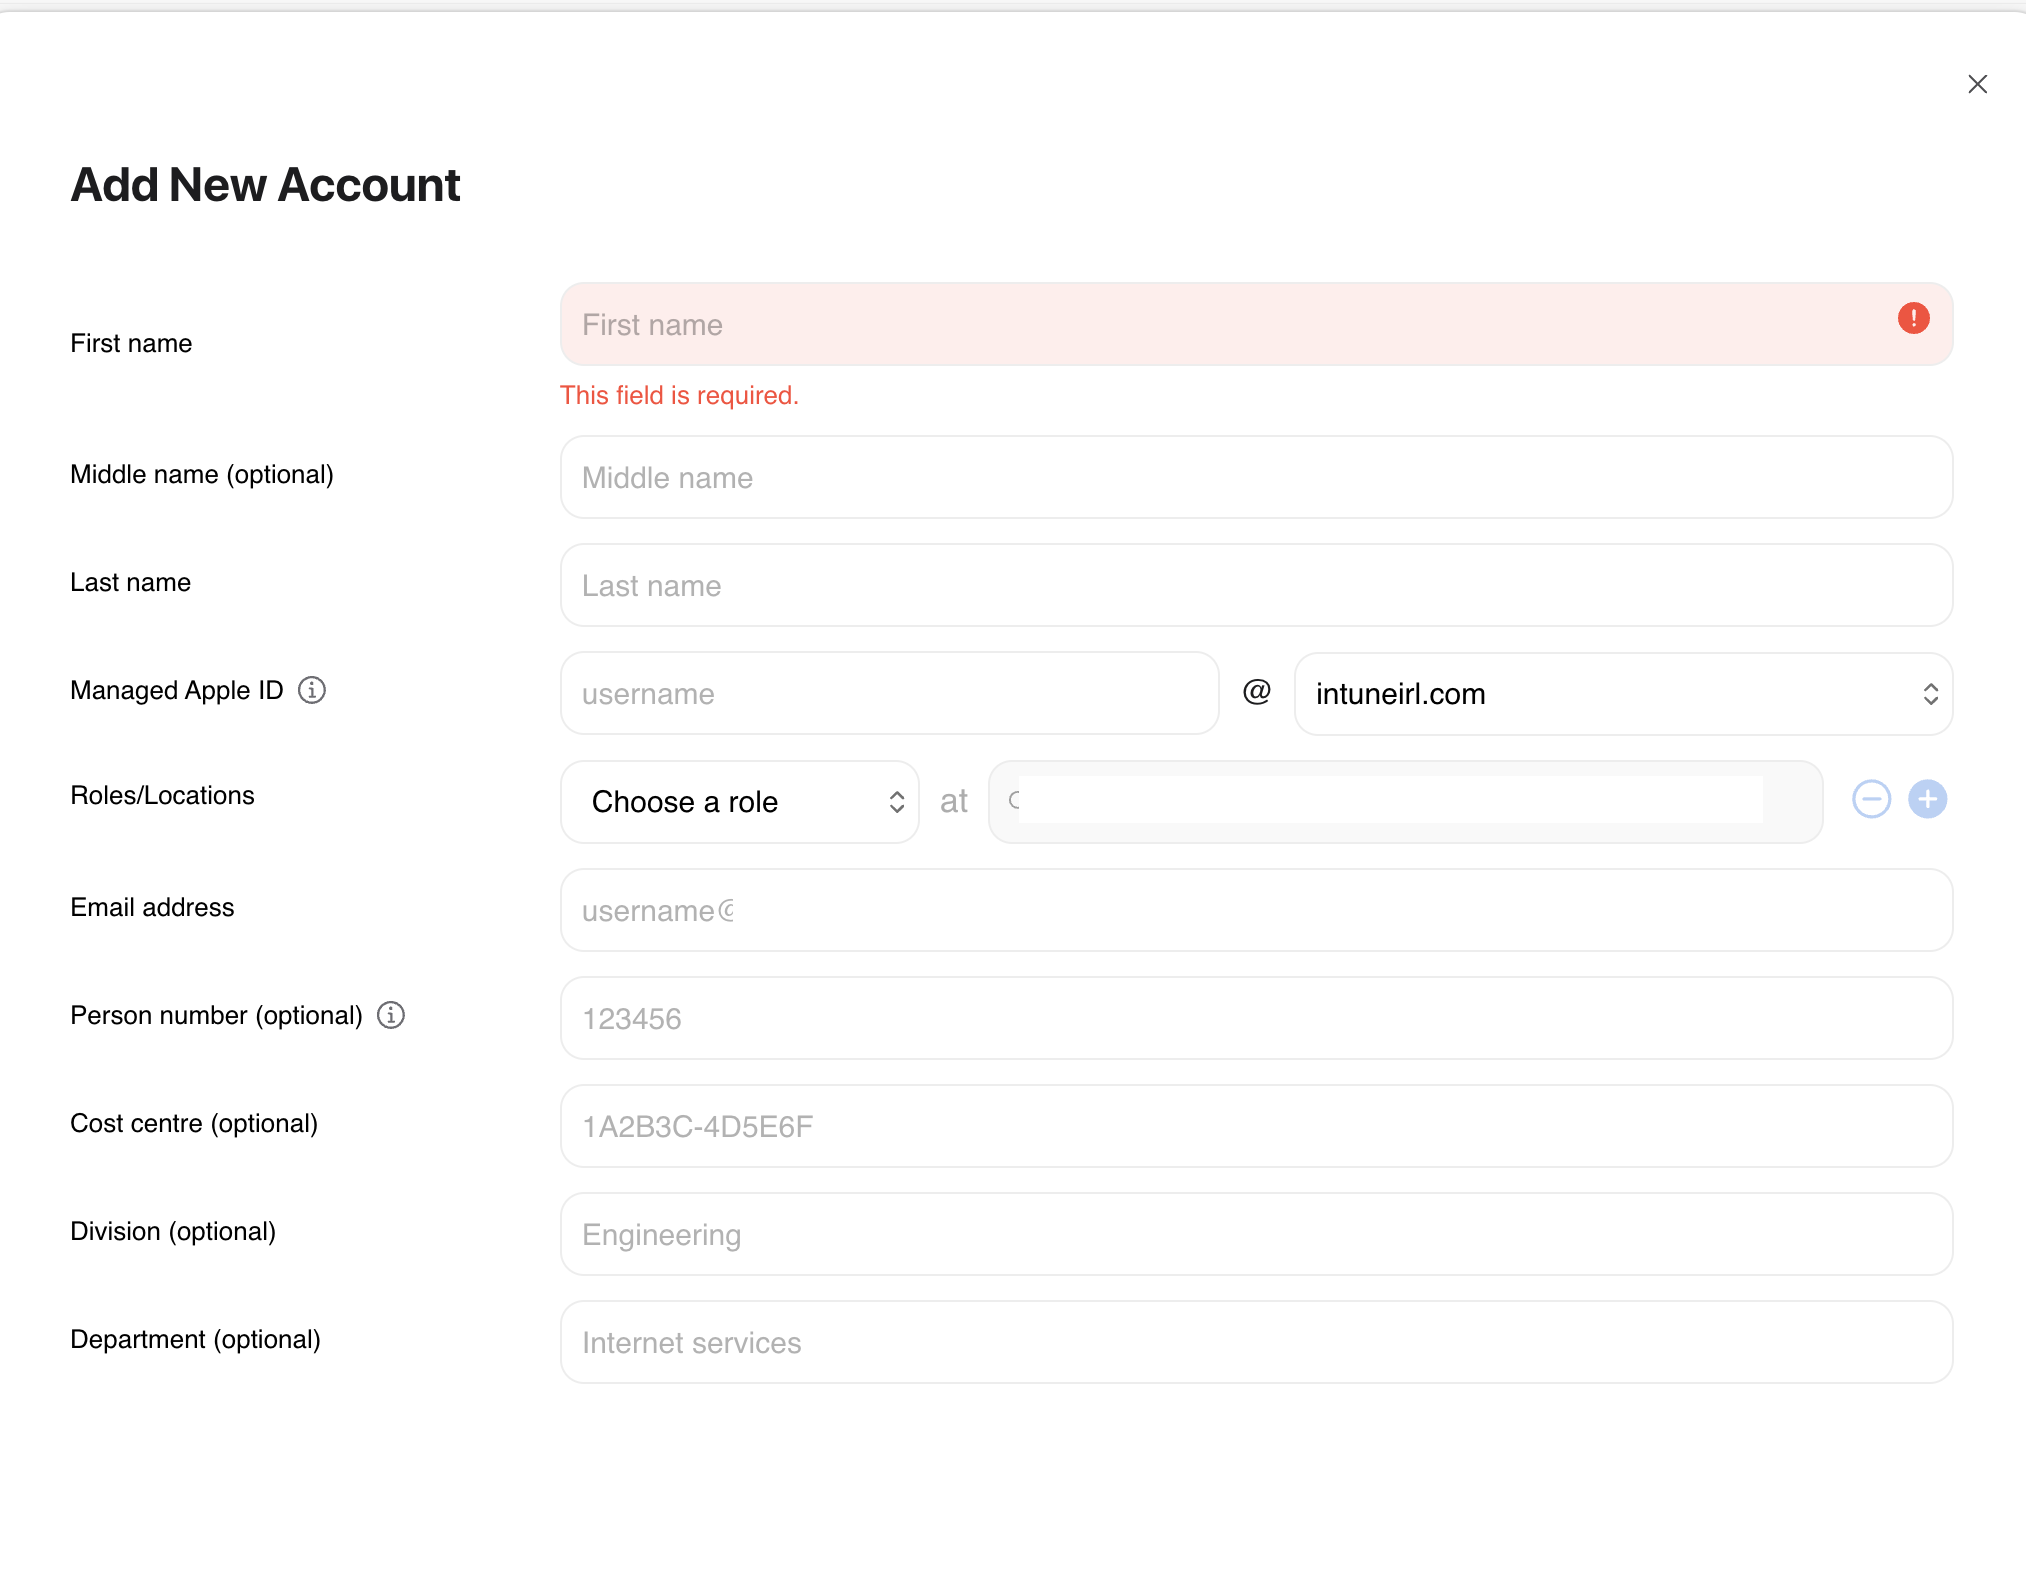
P.S: When manually creating a user in ABM, it is mandatory to provide an e-mail address and assign a role to it. The e-mail address should not have been used with any other Apple services.
Every user in ABM must have at least one role, and each role has certain privileges. The below table will help you with a basic idea of the roles available in ABM:

The privileges (rights) with roles in ABM are:
1. Log in to Apple Business Manager with a user that has an Administrator role.
(The user signing up for the ABM for the first time by default becomes the first administrator in ABM).

2. Click Users in the left sidebar, click the Add button, enter the required details, and click Save.

Create sign-in information for the new user:
1. Sign in to Apple Business Manager and click Users, then search for the newly created user.
2. Select the user from the list and click Create Sign-in to create new sign-in information for the new user.
3. Select how you want to send the information to the user. You can either download the information as a pdf or CSV, or you can e-mail the information to the user.
We have created users in ABM and assigned required roles to the user, so now let us discuss how to purchase & distribute content.
As a best practice, you should always assign apps to devices instead of users, avoiding requiring a user to use an Apple ID on the device. However, if you are distributing enterprise books, they can’t be assigned to devices.
You can purchase apps and books in Apple Business Manager and can also purchase Custom Apps from developers as B2B apps.
Note: You must set up your payment method before adding apps, even if they are free.
Search and Purchase App in ABM
1. Log in to Apple Business Manager and click Apps and Books, then search for an app or
book in the search field.

2. Select the app or book in the search results list that you want to purchase.
3. Select the location where the app or book licenses will be initially assigned.
4. Enter the number of licenses, and if necessary, change the payment method, then click Buy
5. Availability of app licenses depends on the amount purchased. If you purchased:
Alternatively, you can force sync your VPP token in Intune to immediately sync for the purchase to be processed.
Once the apps are synced to your Intune tenant, you can start distributing them. Follow the below steps to distribute VPP apps:
1. Log in to Microsoft Endpoint Manager Portal.
2. Select Apps > All apps.
3. On the list of apps pane, choose the app you want to assign and then choose Properties
4. On the Assignments tab, choose whether the app will be Required or Available for enrolled devices.
5. Assing it to the user or device groups you want to assign the app.
(Photo Credits: Apple.com)