Part two of the macOS management series, and we will configure the policies & profiles for silent onboarding of mac OS devices in Microsoft Defender for Endpoint along with pushing the Company Portal app on the device. Before creating any macOS policy, let us first configure MDE. Log in to


Part two of the macOS management series, and we will configure the policies & profiles for silent onboarding of mac OS devices in Microsoft Defender for Endpoint along with pushing the Company Portal app on the device.
Before creating any macOS policy, let us first configure MDE. Log in to Security Center and enable the connection for Defender. I will use MDE as an enterprise security platform for securing corporate devices.
The first step is to set up the communication between Intune and Microsoft Defender for Endpoint:


Deploy Microsoft Defender for Endpoint on macOS
Deployment of MDE on your macOS devices is a bit complicated process. You will first need to download the onboarding package, approve the extension and then configure a few more policies. The below five steps are required for onboarding your macOS in MDE:


The zip contains the onboarding files for MDM solutions. But as we are using Intune as an MDM solution, so will focus on the folder named “Intune”.

As the next step, we will create configuration profiles for Microsoft Defender for Endpoint. The steps are as below:


Now, we need to create a profile so that the extensions in the onboarding file are approved in the system context.


| Bundle identifier | Team identifier |
|---|---|
| com.microsoft.wdav.epsext | UBF8T346G9 |
| com.microsoft.wdav.netext | UBF8T346G9 |


By default, the new versions of macOS do not allow applications to access certain locations on disk (such as Documents, Downloads, Desktop, etc.) without explicitly granting that app’s permission. Microsoft defender is also no exception; without this consent, it will not be able to protect the device fully.
This profile grants Full Disk Access to Microsoft Defender for Endpoint.


This profile configures the Endpoint Detection and Response (EDR) capabilities for Microsoft Defender to inspect socket traffic and report this information to the security center. Configuring this policy allows the network extension to perform this functionality.
Download the config file Network Config file and repeat the same steps to create a custom profile.

This profile will allow Microsoft Defender for Endpoint on macOS and Microsoft Auto Update to display notifications in UI on macOS.
Download the config file notif.mobileconfig file and repeat the same steps to create a custom profile.

This configuration profile grants Background Service permissions to Microsoft Defender for Endpoint. macOS 13 (Ventura) contains new privacy enhancements. Beginning with this version, by default, applications cannot run in background without explicit consent. Microsoft Defender for Endpoint must run its daemon process in background.
Download the config file background_services.mobileconfig file and repeat the same steps to create a custom profile.

This is how your portal might look like once you have created all these profiles for MDE:

Now we have completed all the pre-work for Microsoft Defender for Endpoint, its time to publish the app to devices:

It is not completed yet…There are still two more configurations remaining:
Navigate to Devices > macOS > Shell Scripts, upload the two scripts below, and assign them to the same device group to which the MDE policies were assigned.
There are multiple ways of pushing the Company Portal to macOS devices:
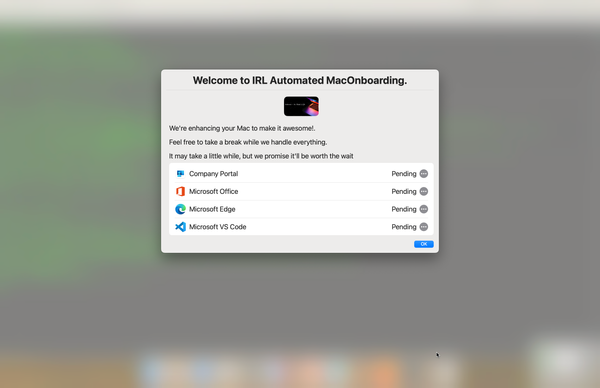
However, for now, I will walk you through the app deployment on supervised devices and would recommend deploying Company Portal using shell script. The company portal will be downloaded and installed using the macOS Shell Scripts feature. This option will always install the current version of Company Portal for macOS but lacks the option of reporting app installation.

It has been a long post, and I will end it here. In the next part of the series, I will cover device enrollment using Modern Authentication, some mandatory restrictions that you should have on the MacBooks and finally, publishing M365 apps, certificates and VPN.
Stay In(tuned) and be #intuneinspired